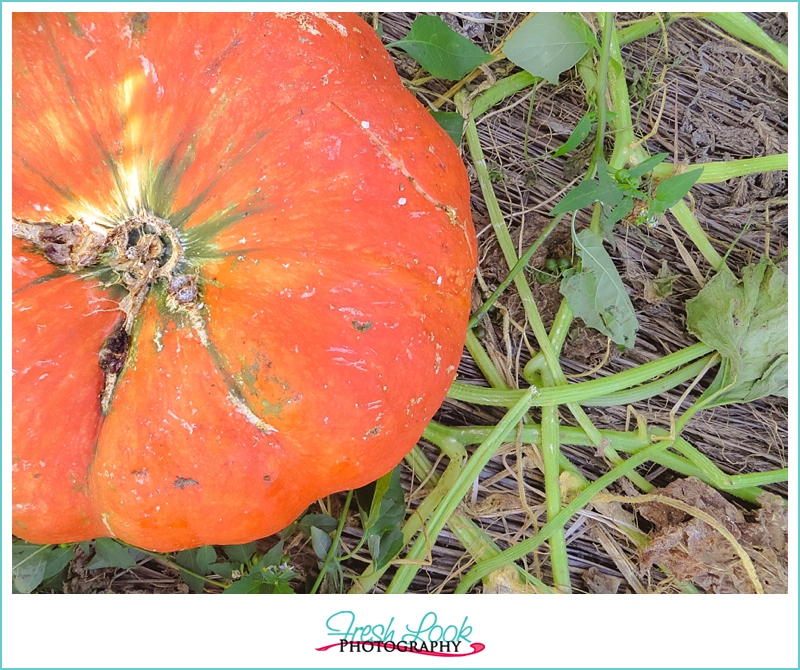
 I want to start a new series here on the blog that focuses on the how to aspect of photography, and today I will be talking about pumpkin patch pictures. With the fall season in full swing, there are certain things that just have to happen. Like carving a jack-o-lantern, sipping hot apple cider, and playing in leaf piles! And of course, no fall season would be complete without visiting a pumpkin patch with family and friends! Even though it would be fabulous, I know it’s not very practical to have a professional photographer follow you around documenting your family’s special moments. So I wanted to start this “how to” series to give you some pointers on taking pictures during special times of the year (fall, christmas, spring, etc). Of course, nothing will replace hiring a custom photographer, but hopefully this will give you a few ideas to try out at your next outing!
Pumpkin Patch Pictures
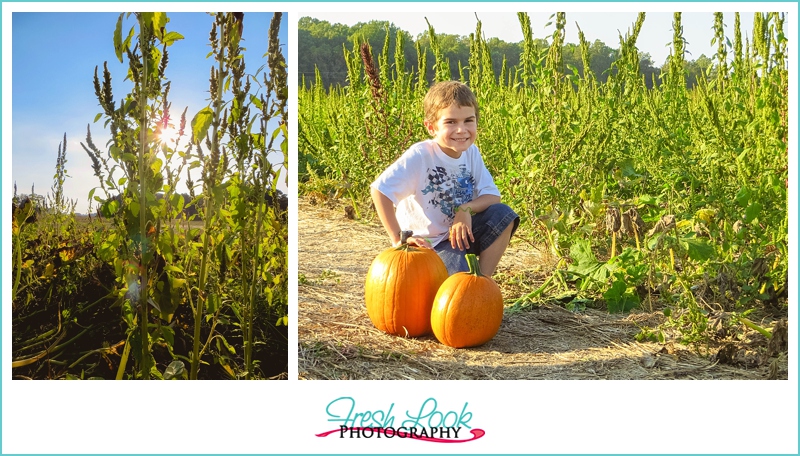
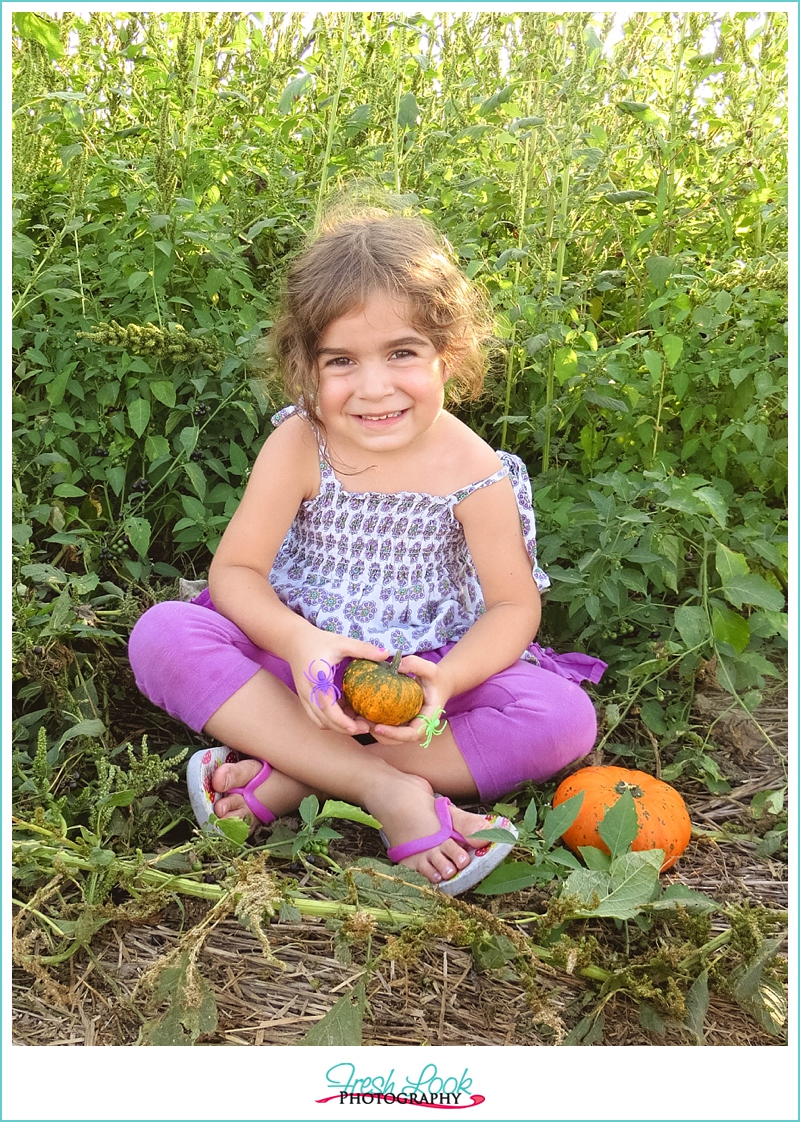 Location, Location, Location
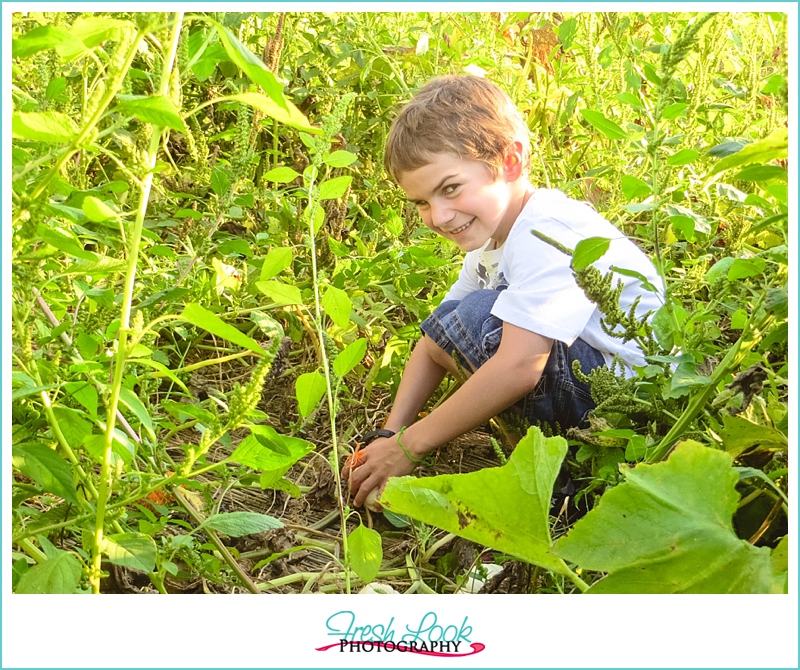
Check out local pumpkin patches in the area such as Hunt Club Farm, Taylor Farms, or even the Virginia Beach Farmers Market would all make fabulous backgrounds for your picture! Keep in mind that some patches may require you to pay a fee to take pictures in their patch. Others may let you take photos free of charge—but they may want you to come by on a slow day so as not to interrupt customers. They will probably expect you to take home a few pumpkins as well 😉
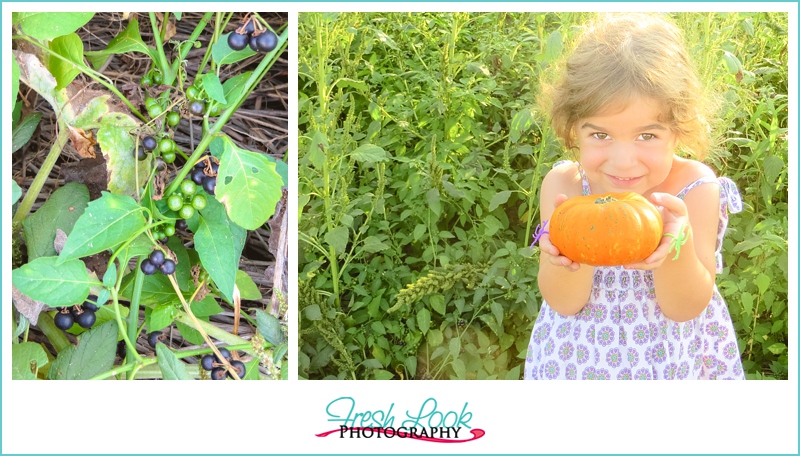
 Lights, Camera…
Consider the lighting that is available. Pumpkins look great in all kinds of light, but they look particularly awesome in softer lights. Wait for the sun to begin to set (not when it is completely dark!) or photograph in a shaded area. The softer and warmer the light looks, the more harvest-like your photo will feel.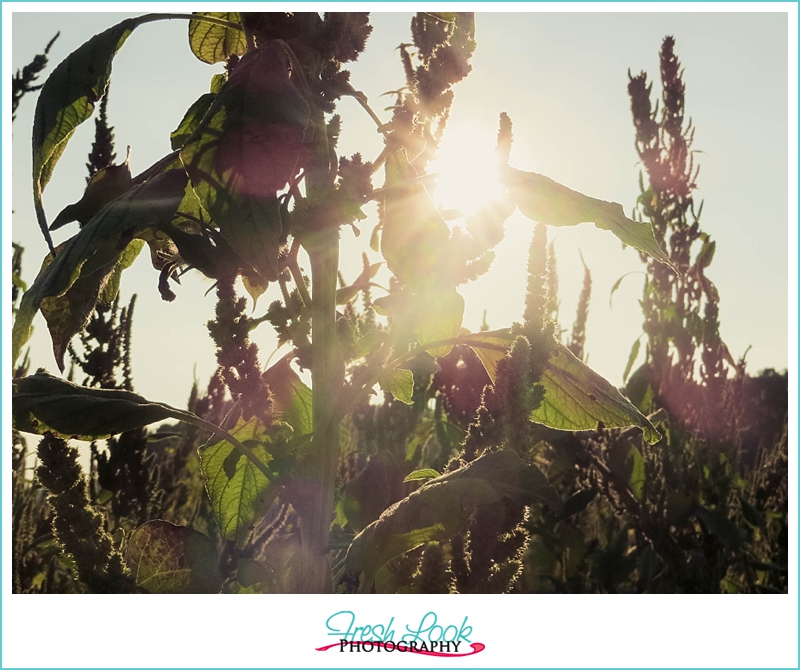
Vary the Angle
Take a few pictures from above by standing on something and shooting down, or getting directly in front of your kiddos, and you could even get down low and shoot up (I’ve definitely been known to lay on the ground to get the shot I want!). Zoom in on your subject to give just a hint of the patch or use a really wide angle to convey the scope of the patch (if it’s larger). Use a telephoto lens to take advantage of amazing bokeh (or boo-keh!). This can also be really helpful to create depth in an otherwise sparse pumpkin patch.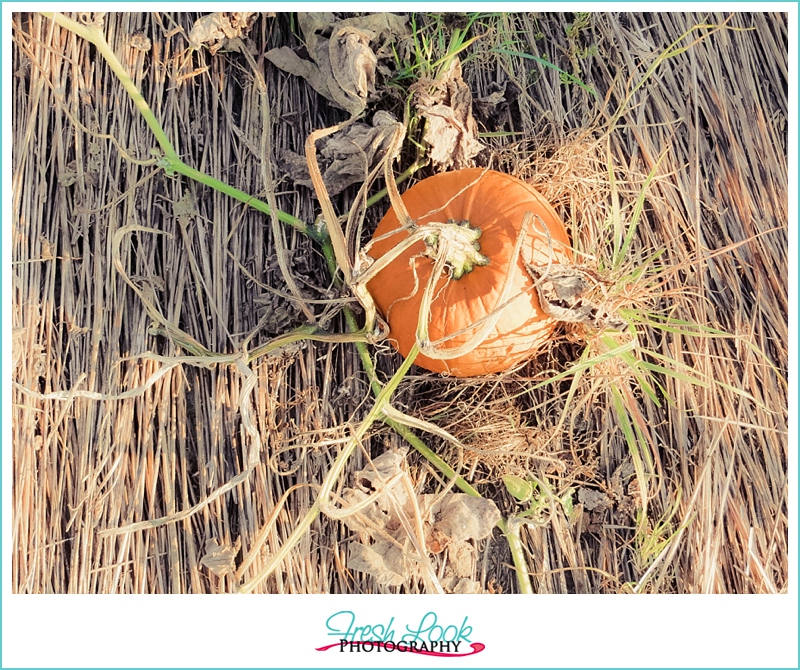
And if All Else Fails…
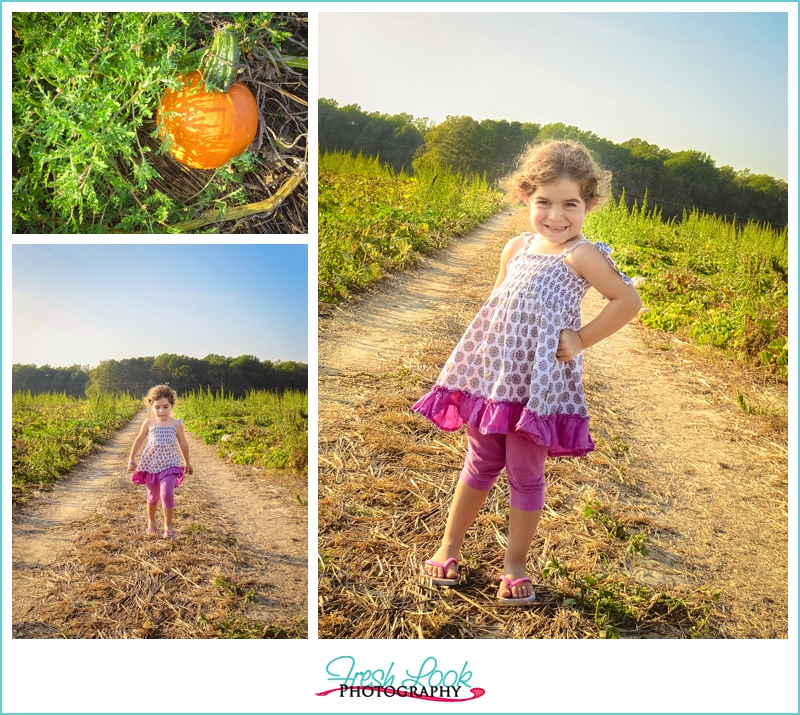
If you can’t plan a good time to go to the pumpkin patch or if there isn’t a nice one near you, just bring the pumpkins to you! There are so many things you can do with just a few store bought pumpkins and fall props! This photo is part of my Fall Mini Sessions series and was taken in my backyard 🙂





Thanks for this awesome tips. But I have one more question how do you get so sharp pictures?! Its just that I’m having a hard time achieving this! Thanks for a wonderful page!
There are a few ways that I achieve sharpness in my photos Ana! I find that the biggest things that help is to make sure that my shutter speed is set correctly and the F-stop is wide enough. Does that help?